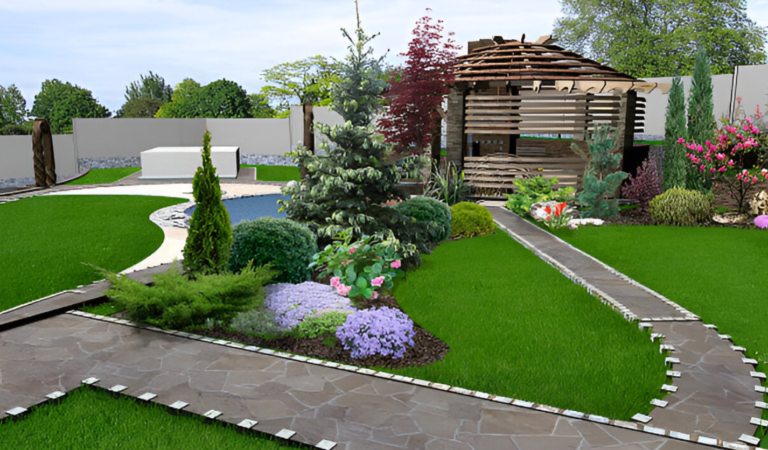
Adding a brick walkway to your garden is a fantastic way to enhance both its beauty and functionality. In this guide, we’ll show you exactly how to build a brick walkway in your garden, ensuring that you create a durable, charming path. Whether you’re a DIY enthusiast or new to home improvement, this step-by-step guide will walk you through everything you need to know.
Before starting, explore brick and stone pathway ideas for inspiration and insights on choosing the right materials and patterns for your project. Additionally, if you’re interested in a more natural-looking path, you can learn how to build a stone path for your garden.
1. Planning the Walkway Layout

-
- Outline the path using a garden hose or rope.
- Select a pattern: Herringbone, running bond, or basketweave are all great options.
- Calculate materials: Measure the area so you know how many bricks and how much sand and gravel you’ll need.
Planning ahead makes it easier to build a brick walkway in your garden that fits perfectly and matches your outdoor aesthetic. If you’d like to grow plants along the edges, check out how to grow tomatoes at home for ideas.
2. Gathering Tools and Materials
- Tools needed: Shovel, tamper, rubber mallet, and a rake.
- Materials: Bricks, gravel, sand, plastic or metal edging, and landscape fabric.
To optimize your garden’s aesthetics, add complementary flower beds or edible plants. Check out the ultimate guide to pickling vegetables for ideas on what to grow along your new walkway.
3. Preparing the Ground and Installing Edging

- Mark the area with stakes and spray paint.
- Dig 6-8 inches deep to allow space for the gravel and sand layers.
- Lay landscape fabric to prevent weeds from growing between bricks.
- Install edging to secure the pathway and keep bricks from shifting over time.
4. Laying the Foundation with Gravel and Sand
- Spread gravel (2-3 inches) to promote proper drainage.
- Compact the gravel using a tamper for stability.
- Add sand (1-2 inches) and smooth it with a rake to create a flat base.
5. Placing the Bricks in a Pattern

- Choose a pattern: Herringbone for curved paths or running bond for a classic look.
- Tap bricks gently into the sand using a rubber mallet to secure them.
- Maintain even spacing with spacers or small pebbles for consistent gaps.
6. Filling Gaps and Locking the Bricks in Place
- Sweep sand into the joints between bricks to secure them.
- Mist the surface with water to help the sand settle and compact.
- Reapply sand as needed after rain or heavy use.
7. Adding Decorative Elements
- Line the walkway with flower beds to soften the edges.
- Create a seating area: Extend the walkway to include a bench or garden nook.
- Incorporate moss or ground covers between bricks for a rustic look.
To learn more about creating an inviting outdoor environment, explore our guide on building a mini pond in your garden to complement your new walkway.
8. Maintenance Tips
- Sweep regularly to remove debris.
- Replenish sand if bricks become loose.
- Prevent weed growth by adding more sand to the joints over time.
FAQs
1. How deep should I dig for a brick walkway?
- Dig 6-8 inches to allow for a stable gravel and sand base.
2. Do I need edging for my walkway?
- Edging ensures the bricks stay in place and prevent shifting.
3. What is the best pattern for curved paths?
- The herringbone pattern offers flexibility and looks great on curves.
4. How can I prevent weeds from growing between the bricks?
- Use landscape fabric under the foundation and keep joints filled with sand.
A brick walkway is the perfect way to enhance the charm and functionality of your garden. Whether you opt for a simple running bond or a more intricate herringbone pattern, this project is both rewarding and practical. Don’t forget to explore more pathway ideas to add your personal touch.
With proper planning, tools, and care, your new walkway will be a beautiful feature that lasts for years to come!
